1. Creating a flat surface
To ensure a smooth concrete block, a flat ground surface is essential. Use a strong steel plate under the mould. This will allow you to remove the mould easily when the cast concrete has cured. Make sure that the steel plate and mould are on a level surface, otherwise the concrete cannot be levelled evenly.
2. Cleaning
Clean the mould well. If you have already used the mould, make sure both the plate and mould are thoroughly cleaned. It is particularly important that no cement remains in the opening of the mould. An ill-fitting closure is detrimental to the quality of the concrete block.
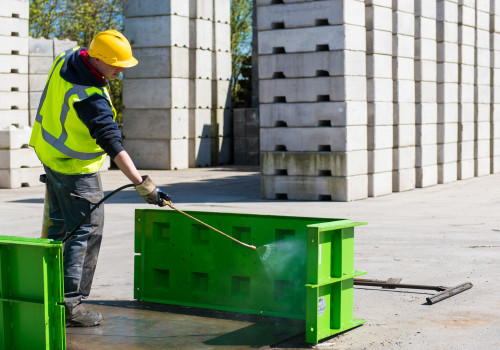
3. Apply mould release oil
When the mould has been cleaned and is free from any remaining concrete, we advise to apply mould release oil. The oil prevents concrete from sticking to the mould, making the mould easy for you to open and to demould the concrete block without damaging it.
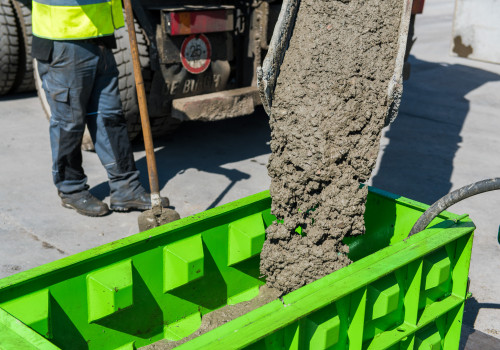
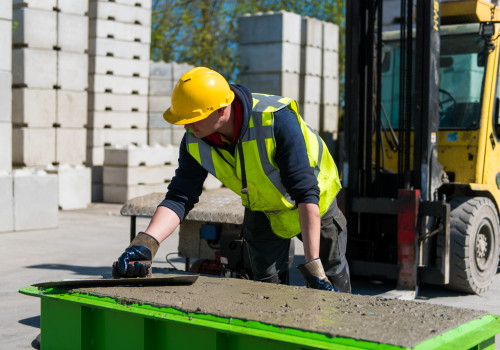
4. Casting concrete
Pour concrete into the mould until completely filled. You determine the composition of the concrete; experiment and discover which compositions produce the best blocks to match your needs. Ensure that sufficient concrete is poured into the mould. It is better to throw some of the concrete away than to not quite fill the mould completely.
5. Even and smooth
In order to produce even and smooth concrete blocks, smooth out the surface of the concrete until completely even using a concrete trowel. It is important that the mould is placed on a flat surface (see step 1), otherwise it would not be possible to even the concrete correctly. The smoothed surface becomes one of the sides of the block. When a wall is constructed, this should of course look good.
6. Curing
Wait until the concrete has cured. This depends on the composition of the concrete, the weather and the size of the mould. On average, the block should be ready to be demoulded within a day.
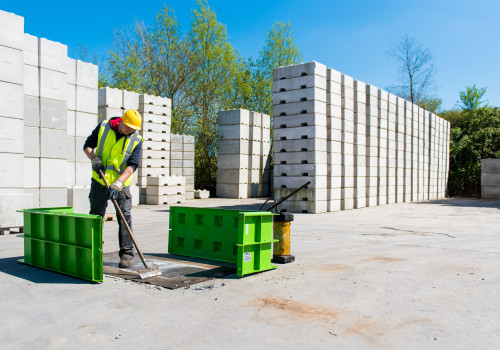
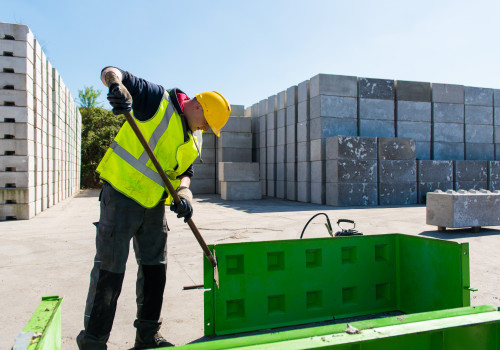
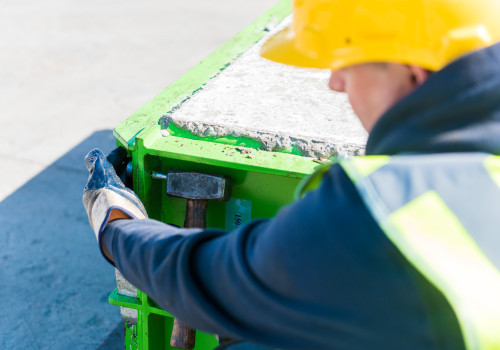
7. Removal of pins and wedges
To demould the concrete block, first remove the pins and wedges. These can easily be knocked out with a hammer.
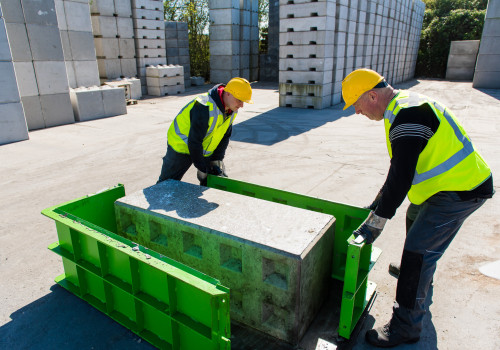
8. Opening the mould
When the block has sufficiently cured and the pins and wedges have been removed, the mould can be opened. No additional tools are needed for opening the mould. When the block has cured enough, the two halves of the mould can be loosened from the concrete block in one move. A tip here is not to let the concrete sit in the mould too long: this can make opening the mould more difficult.
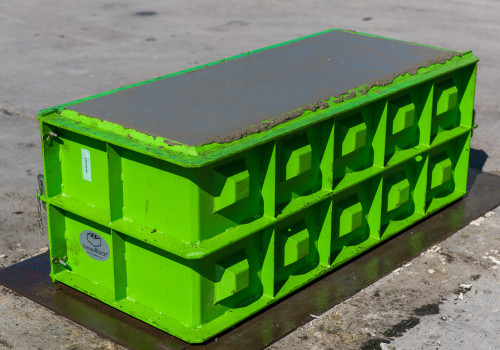
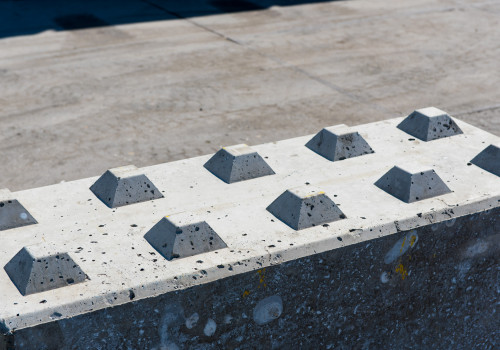
9. Your block is ready!
When you have removed the mould, the concrete block is ready. Using our accessories such as the lifting beam and block clamp, the blocks produced by you can be easily placed, turned and stacked.
How to rotate your block
Watch this video to see how you can tilt and turn a block using only a few accessories.